![]()
The
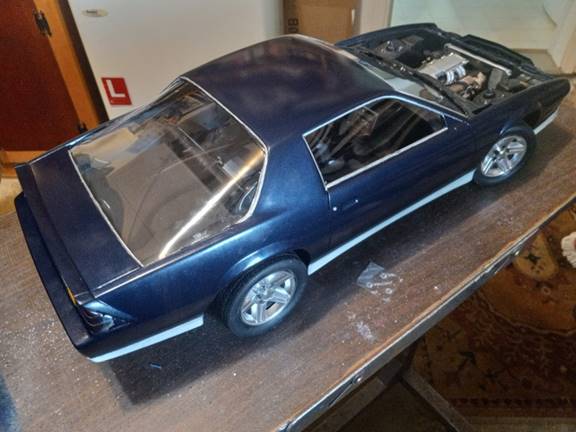
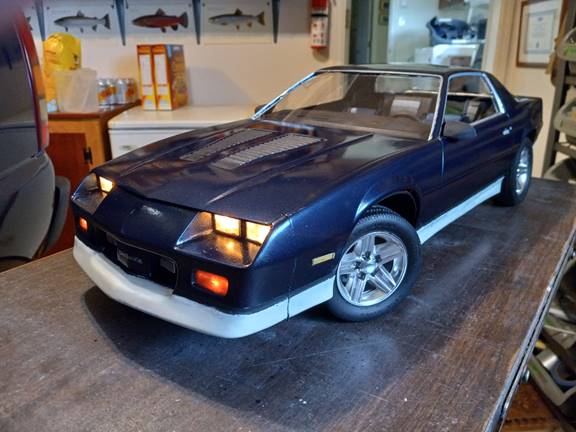
Monogram 1985 Camaro Z28 Restoration Project
This 1:8
scale model was produced by Monogram Models in 1985. In 1986, Monogram was
absorbed by Revell Models and became Hobbico, who then declared bankruptcy so Monogram-Revell was purchased by Hallmark Cards and then a circle of
sell-outs eventually put Revell (the Monogram name
disappeared) under the ownership of a German company as Revell
GmbH. They still manufacture two 1:8 scale cars, a Jaguar E-type and a 1979
Pontiac Firebird.
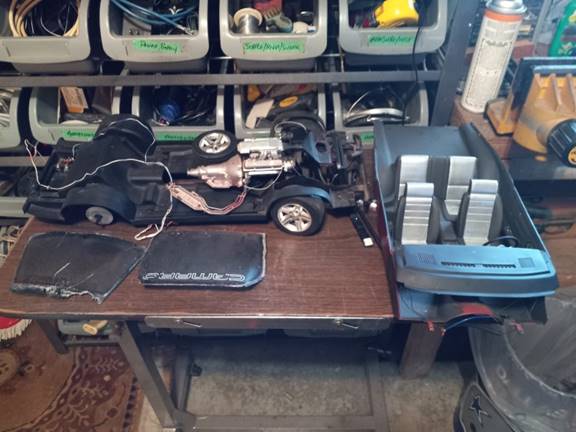
I built
this model about 40 years ago. It sat on a top shelf in the garage for years,
moved around with us and got abused. I pulled it down to assess the potential
and found that it was coming apart at the seams, the front and rear windshields
were cracked and discolored. Exterior mirrors were missing and other parts were
loose. I discovered that plastic cement doesn’t have a long life expectancy and
begins to crumble.
April 8,
2023
I wasn’t
sure what to do with it. I tried polishing the windshields with no success and
finally pulled it all apart. Did some research and found that this model kit
never survived the 1986 merge and now goes for anywhere between $200 and $600
on Ebay. At that point, I decided that restoration
was definitely an undertaking.
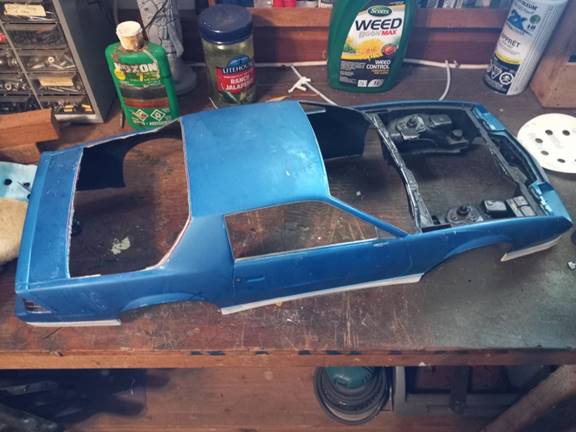
My intent
was a full restore with new paint, new windshields and more added detail in the
engine compartment and cabin. A number of years earlier I had repainted the
body and installed 3V lights in the headlights and tail lights plus interior
and dash lighting. Fabricating new windows would be the major part of the task.
April 13,
2023
Visited
Industrial Plastics and got thin Plexiglas sheet to reform the windshields.
Cuts easily and will definitely take the proper shape. Now that I know I can replace
the windshields I can progress with the rest of the project.
April 14,
2023
My
anticipated process will be:
Interior
ü Touch-up black
ü Gauge set
ü Repaint interior to match Lear Siegler Conteur interior
ü Rewire interior lights
ü Make floor mats
ü Repaint dash top
Chassis
ü Glue tires to wheels to stop bead
unseating
ü Repair any broken parts
ü Add underside details
ü Rewire for connections from battery
to body lights
Engine-transmission
ü Add details for plug wires
ü Drill for tubing and wire
connections
ü Verify component colors
ü Repair exhaust connections
Body
ü Repair cracked front fender
ü Fabricate replacement windows
ü Paint engine compartment component
to the correct colors
ü Wet sand and clean for painting
ü Paint and cure body
ü Paint or add details for door handles,
side lights, mirrors etc.
ü Install new windows
ü Install and rewire lights
Assembly
ü Install engine-transmission assembly
to chassis
ü Install interior to chassis
ü Install body to chassis
ü Connect lights to battery pack
ü Connect wiring and tubing from
engine to body
ü Install all other engine compartment
parts
ü Install hood
ü Final inspection and corrections
April 16,
2023
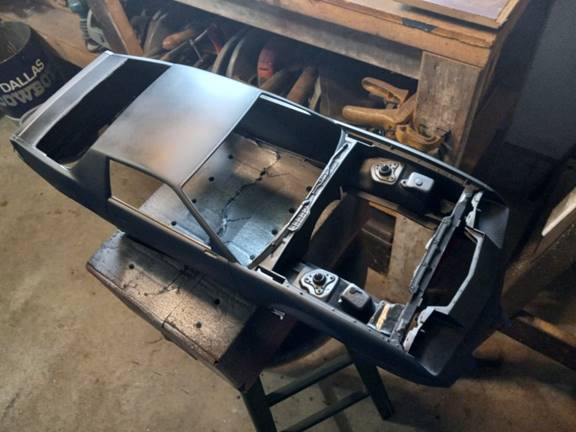
Tested making the windshield and rear window from plastic. Concept works so restoration will
continue. Dismantled the chassis including the wheels, brake
assemblies, hubs, battery box, switch and wiring. Disassembled the
wheels and removed the tires. Removed parts from the body assembly such as
radiator, AC condenser and other parts, removed headlights and support
structures.
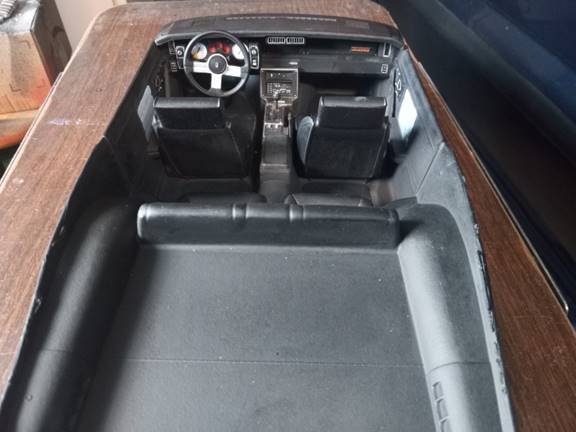
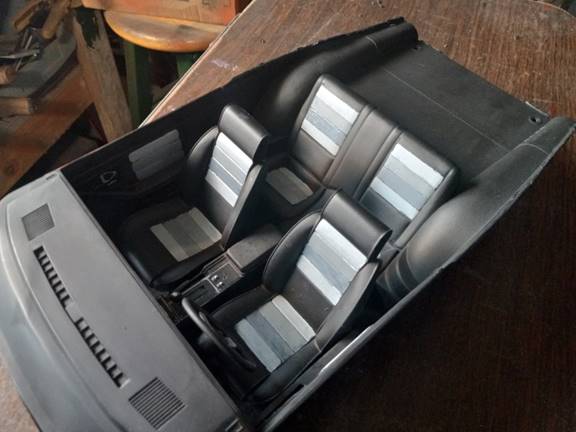
Removed
front seats and repainted both front and rear seats with undercoat, then flat
black to get a leathery look to the seats.

April 18,
2023
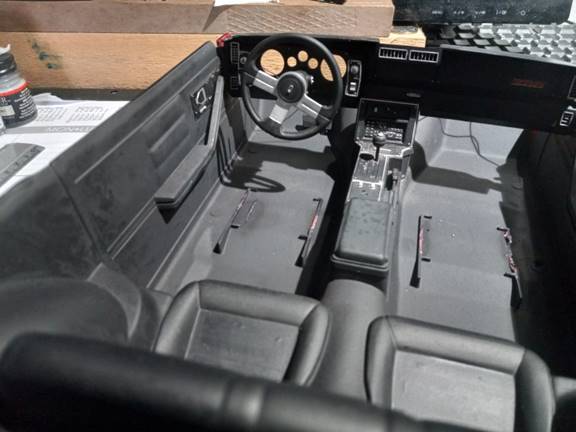
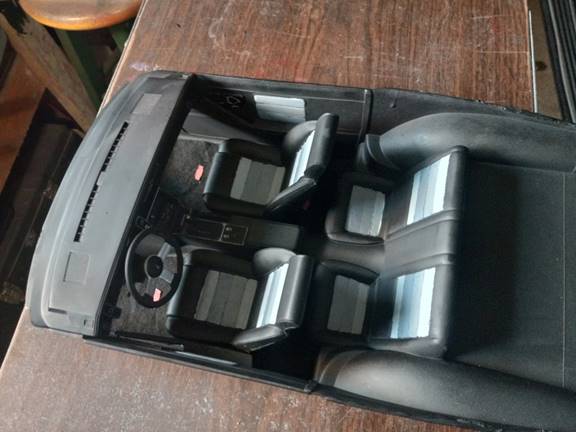
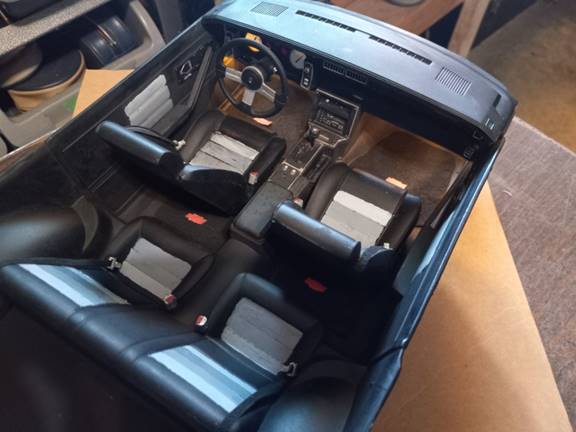
Painted seats with shades of grey to match Conteur
style. Sadly no Camaro decals for each panel. Touched
up edges and other items. Fabricated floor mats from painted paper
materials and added red bowtie emblem. Installed dash gauges
and warning lights. Installed seat belts and wired in the courtesy-dash
lights.
April 20,
2023
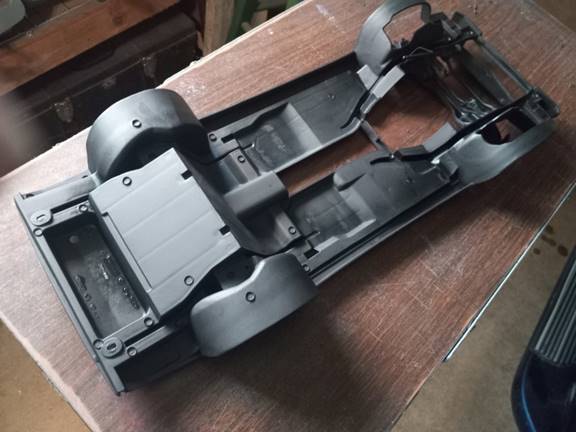
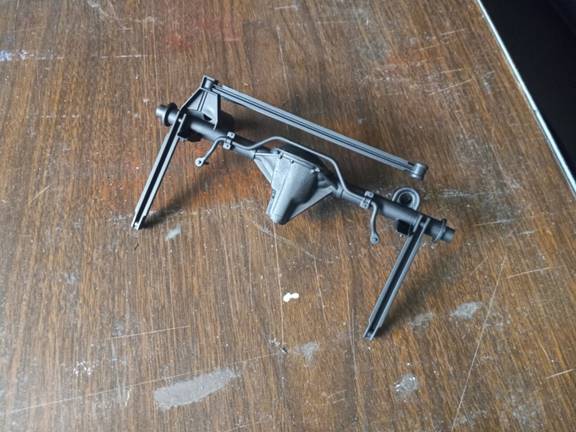
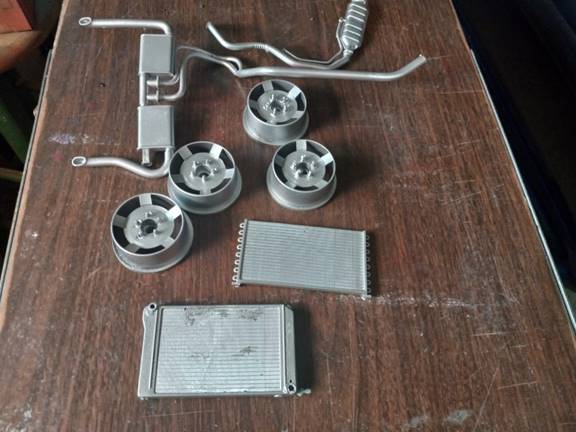
Drilled out
broken wheel pins in differential and steering knuckles. Painted
wheels, radiator and AC condenser. Painted chassis and
differential. Drew up files for replacement wheel pins
to print. Tested the wheel pins, not acceptable, will find a different
method to secure the wheels.

April 22,
202
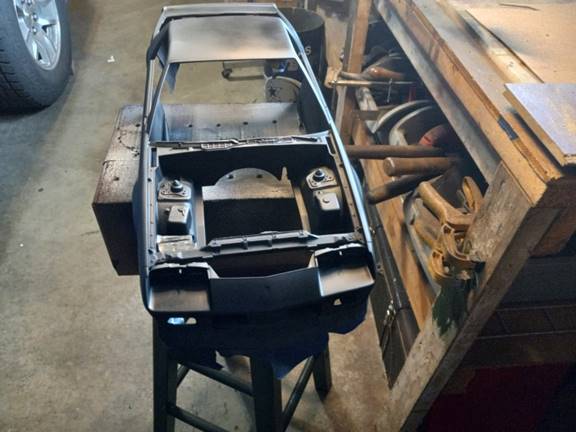
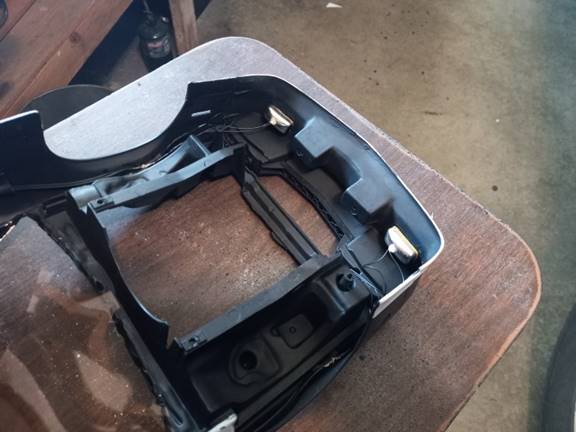
Finished stripping and cleaning the body. Managed to get all the light
fixtures off except the RR corner light which broke off. Will have to do repairs to that. Wet-sanded
the body in preparation for primer. Masked off the
rocker panels and the top of the battery.
April 23,
2023
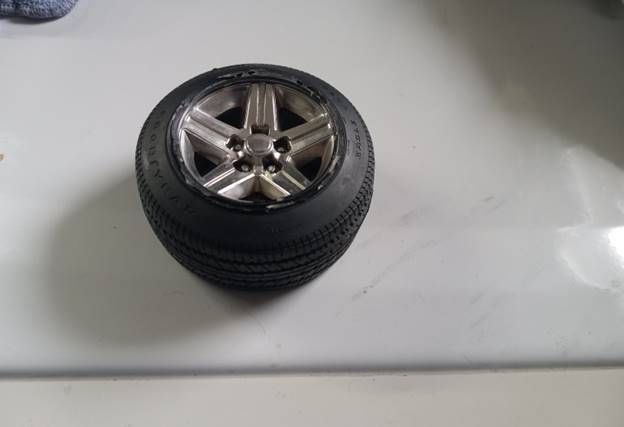
Problems
with tires and wheels have surfaced. The sidewalls on the tires have flattened
in and no longer seat properly on the rim beads. This is a big issue. Soaked
the tires in hot water and inserted the rims inside to force the beads out. Will see if that works.
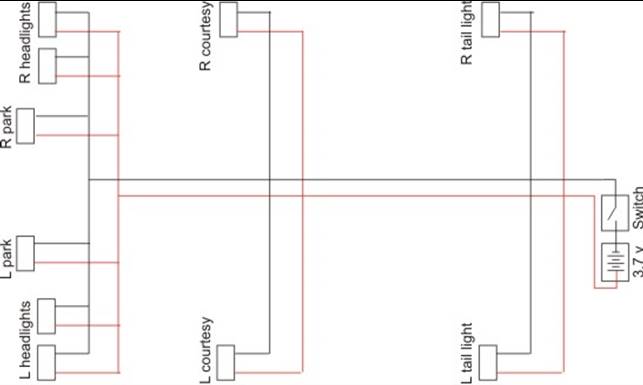
Drew up the wiring diagram for all the lights. Tested brilliance
differences between two AA batteries and a 3.7V compact battery.
Although the compact was slightly brighter, I’m concerned about burning out the
bulbs but the AA batteries in the box are quite heavy. The compact battery is
also rechargeable as opposed to the AA batteries. Will have
to make a decision on the power source. Tested the switch and then
discovered that the leads for my digital meter are screwed up so will have to
replace that.
Need to
plan wire routing and connections. The wires on the tiny incandescent bulbs are
very small and soldering could be quite entertaining.
April 26,
2023
Undercoat on the body, inside and out. Need to make sure that it’s perfectly smooth
so that the paint job doesn’t have any dimples or orange-peel finish. Intent is
to use the duplicolor indigo blue metallic finish and
clearcoat. Undercoat turned out perfect, needed no
remediation prior to base colour application.
April 28,
2023
Masked off all areas that will not be painted and applied the basecoat colour. Total disaster. The nozzle on the spray can was defective and blew big
gobs of paint everywhere. Tried a different nozzle insert, same issue. Tried a third insert, same issue. By now I have wasted a lot
of paint with no success. I determined that the entire nozzle could be pried
off and replaced. Now I get a proper spray but am running out of paint.
April 29,
2023
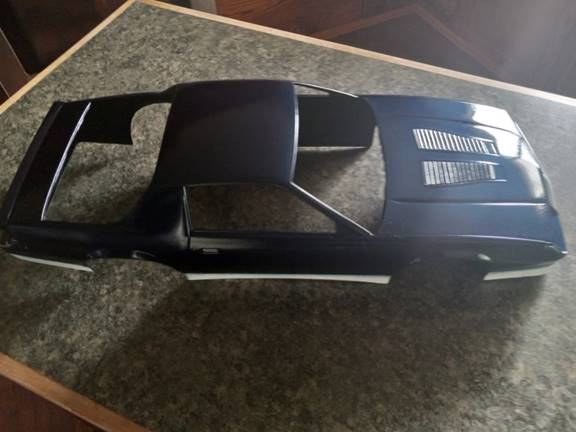
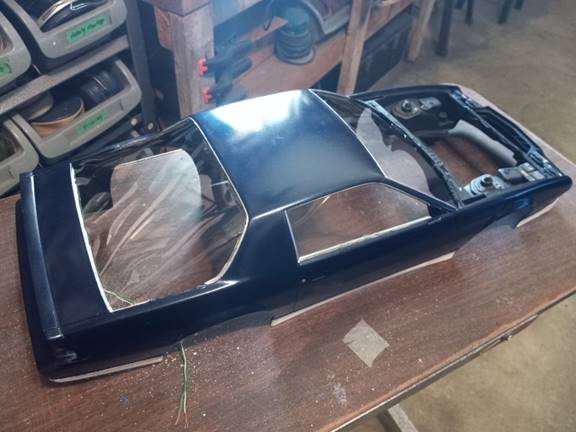
Started wet-sanding the finish on the body and hood. Have to be careful not to remove
too much paint or I’m back to black undercoat and starting over again. Managed to achieve a smooth surface on the entire body. Now
the true test, if clearcoat will provide a proper
finish or if I have to start again. Results are satisfactory,
finish is good and will bring up to full gloss with an application of pledge.
Yes, furniture polish but the body has to sit for a while so the paint and
clear coat cure properly.
Trim colours along the rocker panels, front and rear will need
touchup and refreshing. Hood louvres will be painted
black. Some other parts will also be painted black, such as the headlight
mounts and minor touchup in places.

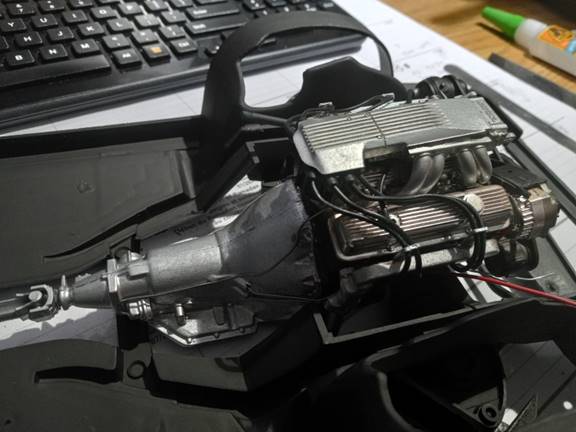
May 2, 2023
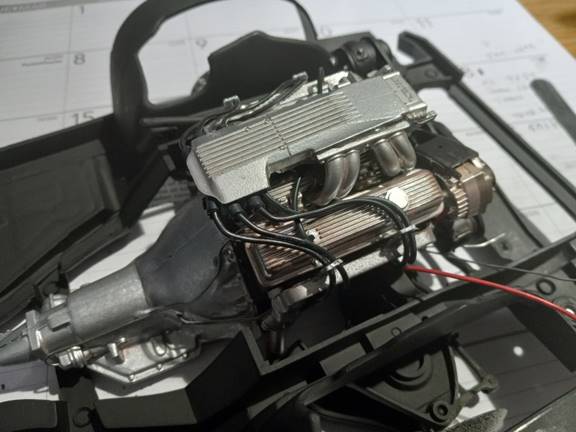
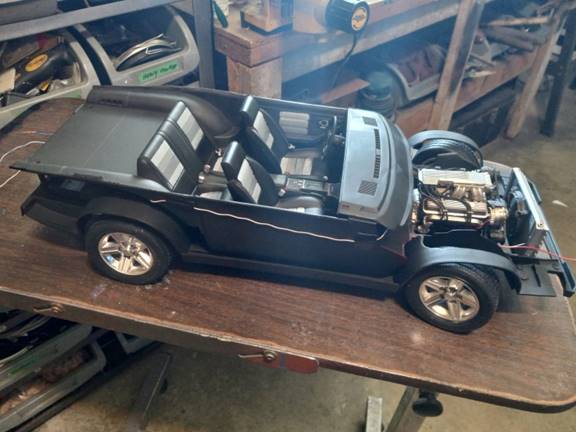
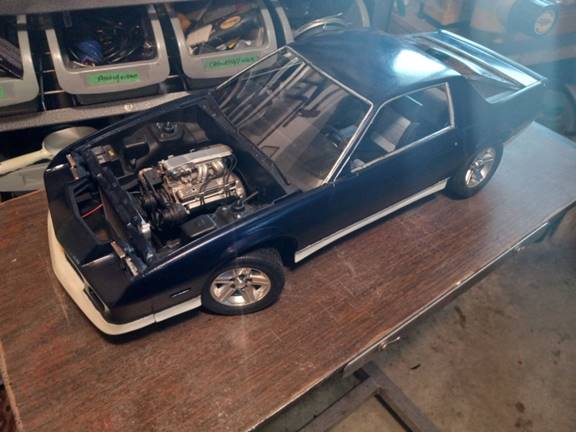
Proceeded with the restoration of the engine and chassis. Added in the spark plug wires and
any other wiring directly related to the engine. Repainted
the transmission, drilled out holes in the AC compressor for the hoses and
lines.

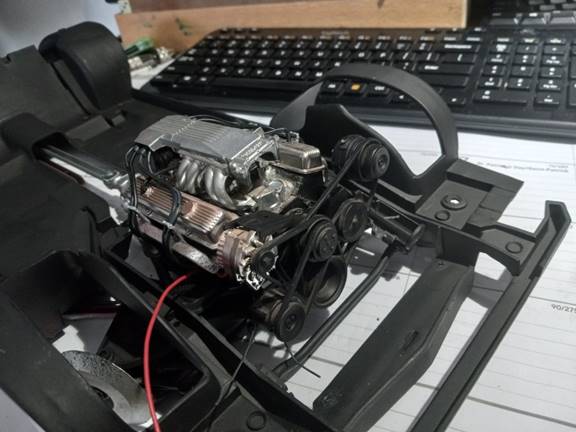
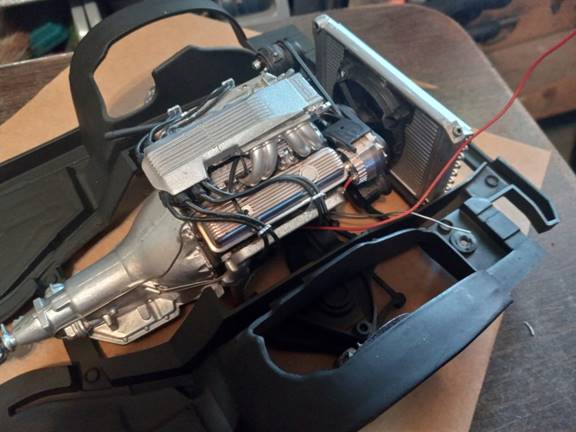
May 7, 2023
Connected
all the exhaust components and verified that all the wires and lines were
routed correctly. Installed the radiator and AC condenser in
preparation for hose connections. Installed the lower
radiator hose.

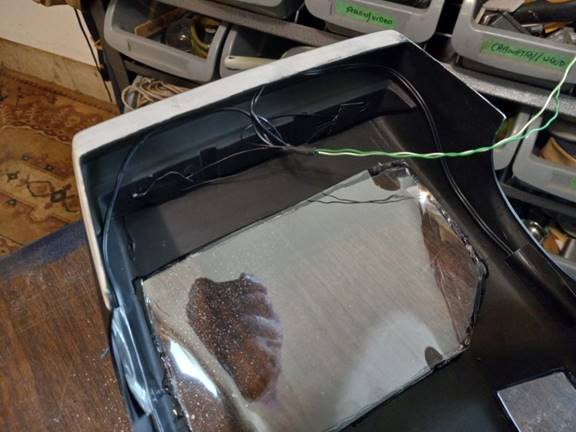
May 16,
2023
Windows
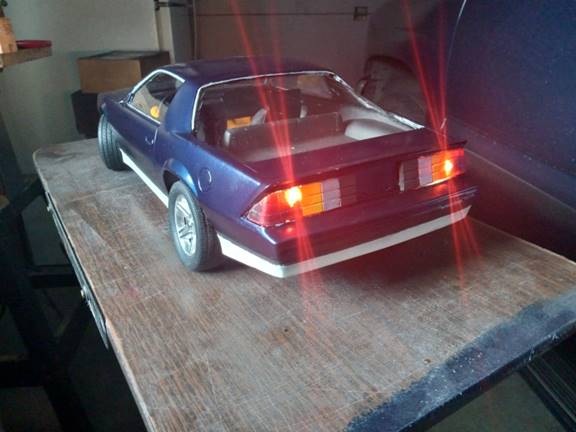
installed, main body wiring completed, headlights, park lights and tail lights.
First primary assembly, wheels on and ready for the body.
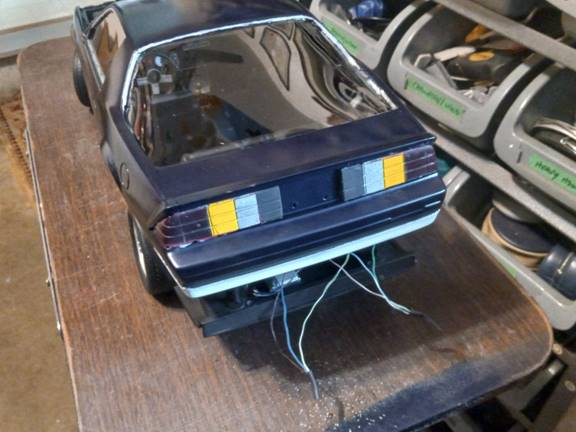
Body
installed, hood on, light connections made, front and rear light tests, just
fine details and under-hood hookups left.
May 20,
2023
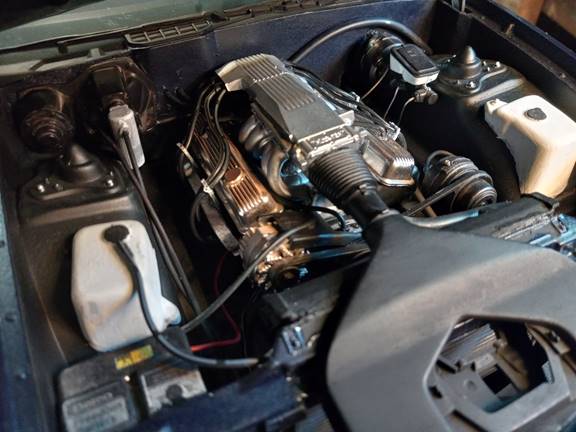
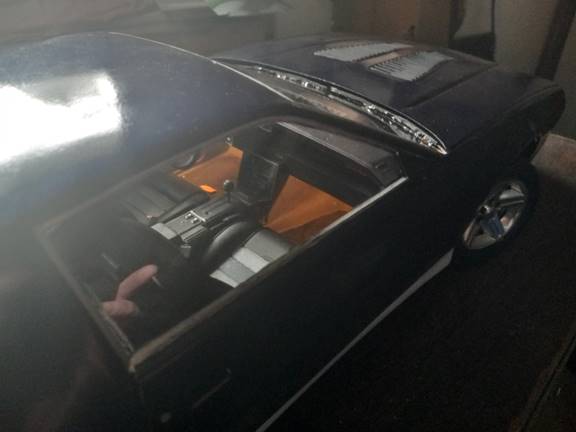
Engine
compartment wiring, AC and painting complete.
May 25,
2023
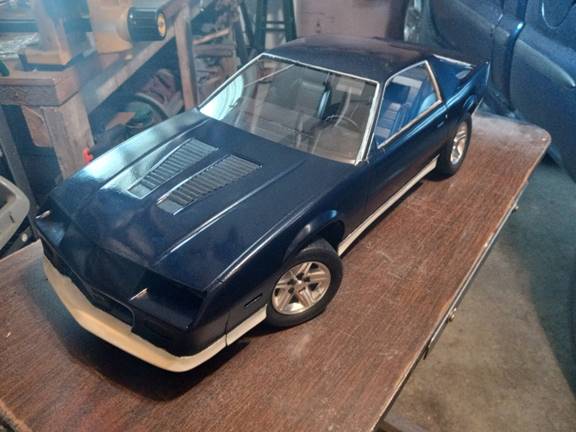
Almost
there, door handles and mirrors installed. Lights work including the interior.
![]()